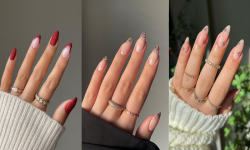
There are more and more women and girls involving the gel nail reconstruction, and making its appearance in many beauty centers. The UV gel to be cooked in the lamp, available in many colors and textures, has become so requested and appreciated. It is a product that suits everyone: from young university students to housewives.
So let’s see all the 3 steps, for how to do the gel nails reconstruction.
1- Filing and putting into shape
First of all, the nails must be filed with professional nail files. For this reason, if the nails are natural, the nail reconstruction session begins with filing through a sterile and disposable cardboard file. The nail shape can be decided with the customer by the nail technician: oval or square, rounded or squoval.
The nails, in gel nail reconstruction can be lengthened using tips or papers. The tips are equivalent to false nails, carefully glued and with special glue to the nails, and of excellent quality, while the papers must be inserted delicately at the ends of the nails.
2- Full gel
There are basically many colors, but only two types of gel: monophasic and triphasic gel.
The monophasic gel contains in itself a primer base, and is therefore perfect for those who do not want to spend too much time in reconstitution.
The triphasic gels are very resistant, and certainly much more used and present for this reason in many shades, even very trendy ones.
If you own a modern LED lamp, the catalyzing time will certainly be halved, from 60 seconds for UV lamps, to just 30 seconds for the most modern LED lamps.
3- Filing and finish
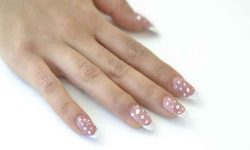
After having catalyzed for the third time in the lamp, the gel is poured leaving bubbles or creating strange shapes on the reconstructed nails.
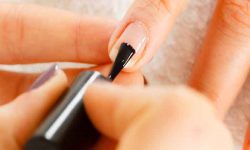
After the final filing, a special polish is applied, which seals the gel and makes it even more resistant. This product must also be catalysed in the lamp. Finally, the finish of the gel nail reconstruction involves the application of a nourishing oil for cuticles and nails.
If a gel nail reconstruction is carried out with care and precision, following each of these steps, your manicure will be perfect and flawless, shiny and full-colored, for up to a month.
Hoping to have been helpful, I hug you and look forward to seeing in the next article!
Read also:Everything to get started in gel manicure: technique, products and nail art inspirations!


One thought on “3 Tips for Gel Nail Reconstruction”