Press on nails are already super stylish, but why not make them even more unique? With a few simple tips, you can transform your press on nails into personalized works of art and fully express your creativity. In this guide, Maryton will tell you some ideas to customize them and get a unique look!
- Add a touch of nail art
Nail art is a fun way to give character to your press on nails.
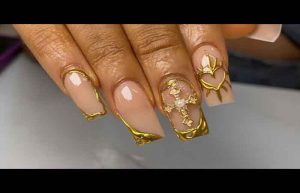
- Stickers and rhinestones: Easily add stickers or rhinestones for a glamorous or fun look. Place them wherever you want for a custom design!
- Fine brushes: If you’re feeling adventurous, use a fine brush to draw patterns like lines, dots or even flowers. It’s perfect for personalizing each nail differently.
Tip: If you’re a beginner, start with simple stickers or patterns before moving on to more complex designs.
- Experiment with colors and patterns
Personalize your press-on nails with a pop of color!
- Colored polish: Use your favorite color polish on a simple base. You can paint all of your nails or just a few for an accent nail look.
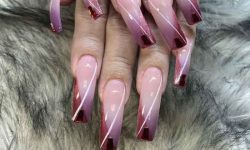
- Ombre or gradient effect: Apply a darker color to the base of the nail and a lighter shade towards the tip, then blend with a sponge for an ombre effect.
Tip: Don’t be afraid to mix different colors and styles for a look that’s truly yours!
- Experiment with different shapes and lengths
Press-on nails come in a multitude of shapes (square, almond, stiletto) and lengths.
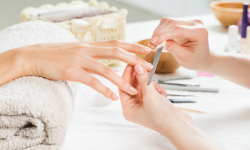
- File them to get your ideal shape: Even though press-on nails come in a predefined shape, you can always file them to get the shape and length you like.
- Mix and match: Dare to wear different shapes and lengths for an original look. For example, long nails for the ring finger and shorter nails for the other fingers.
Tip: Using an electric nail drill would be a good choice when sanding your nails. Don’t hesitate to personalize each nail for a truly unique look!
Read also: How do I know if my matrix is damaged?


